There’s something magical about pulling out a jar of home-canned green beans in the middle of winter. The snap, the flavor, and even the memories packed inside that jar remind you of warm summer days and family gatherings. Learning how to can green beans is more than just a kitchen skill—it’s a way to preserve tradition, save money, and enjoy garden-fresh produce all year long. If you’ve ever wanted to fill your pantry with food you trust, this guide is for you.
Why Learn How to Can Green Beans?
Canning isn’t just about putting vegetables in jars—it’s about creating food security and carrying forward a practice that families have trusted for generations. By learning how to can green beans, you’ll enjoy:
- Nutrient retention: Unlike frozen or processed beans, home-canned beans hold on to vitamins and minerals.
- Cost savings: Buy in bulk during peak season or grow your own beans and preserve them for pennies per jar.
- Less waste: Instead of letting surplus produce spoil, you’ll keep it shelf-stable for over a year.
- Tradition & comfort: Many people can green beans as their first project, making it a beginner-friendly vegetable.
What You’ll Need Before You Start
Before diving into the process, make sure you have the right tools and ingredients ready. Preparation makes the canning experience smoother and much safer.
Essential Equipment
- Pressure canner (required for low-acid vegetables like green beans)
- Mason jars (pints or quarts)
- Two-piece lids (flat lids + screw bands)
- Funnel, ladle, and jar lifter
- Bubble remover or spatula
Ingredients
- Fresh, young green beans
- Non-iodized salt (optional, flavor only)
- Water
Table: Ingredients for 1 Quart Jar
| Ingredient | Amount |
|---|---|
| Green beans | ~1 ½ pounds |
| Salt (optional) | 1 teaspoon |
| Boiling water | As needed to fill jar |
Preparing Green Beans for Canning
Canning begins long before you turn on the pressure canner. Proper preparation ensures your beans look good, taste fresh, and stay safe on the shelf.
- Wash beans under cool running water.
- Trim both ends.
- Cut into 1-inch pieces.
- Choose your method: Hot Pack or Raw Pack.
- Hot Pack: Pre-boil beans for 5 minutes before filling jars. This reduces floating beans and creates better texture.
- Raw Pack: Place raw beans directly into jars, then add boiling water. This method saves time but can lead to uneven quality.
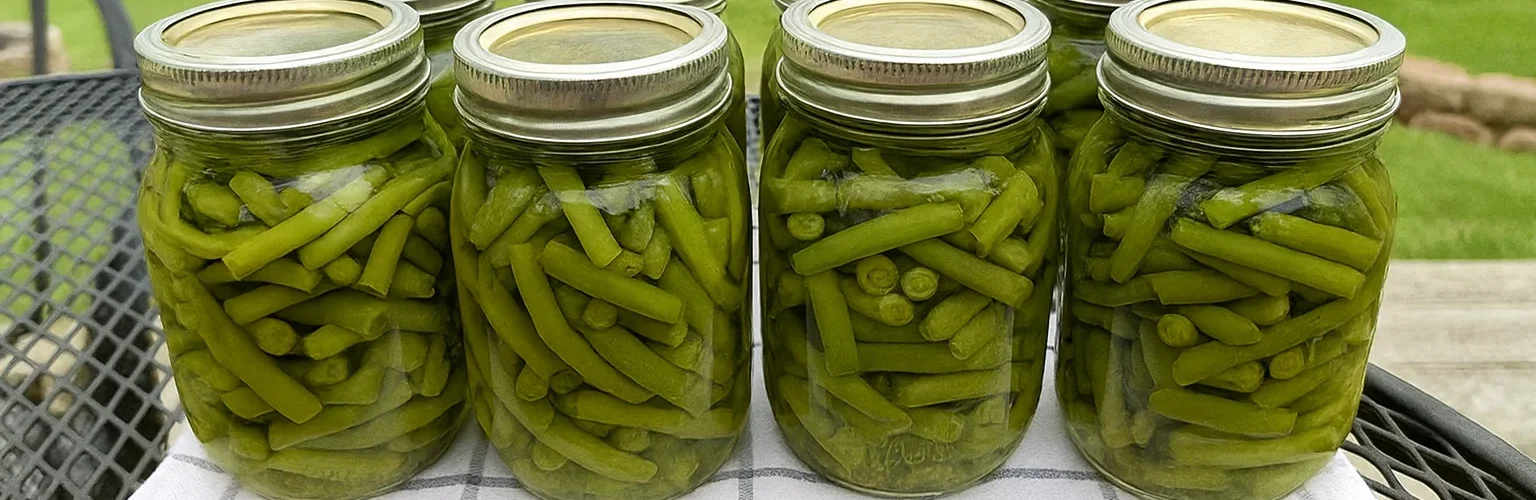
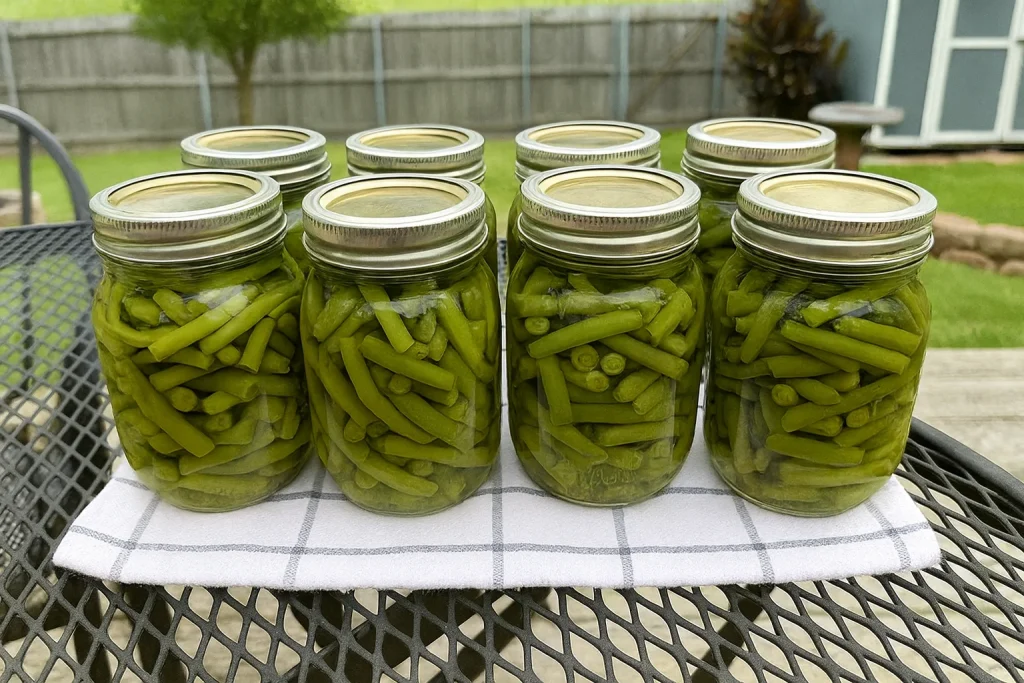
Step-by-Step: How to Can Green Beans
Hot Pack Method (Best Quality)
- Boil trimmed beans for 5 minutes.
- Pack beans loosely into jars.
- Add salt (optional).
- Pour boiling water over beans, leaving 1-inch headspace.
- Remove air bubbles, wipe rims, place lids and screw bands.
Raw Pack Method
- Place raw beans directly into jars.
- Add salt (optional).
- Pour boiling water into the jars, leaving 1-inch headspace.
- Seal jars.
Processing in the Pressure Canner
- Place jars on the rack inside the canner.
- Follow your canner’s instructions to build pressure.
- Processing times:
- Pints: 20 minutes at 10 pounds pressure
- Quarts: 25 minutes at 10 pounds pressure
- Adjust pressure based on your altitude.
When finished, allow pressure to return to zero naturally. Carefully remove jars and let them cool on a towel for 12–24 hours.
Common Mistakes to Avoid
Many beginners feel nervous about canning green beans, and that’s normal. The good news is, once you know the pitfalls, you can avoid them easily:
- Never use a water bath for green beans. They are low-acid and require pressure canning for safety.
- Do not overfill jars. Always leave 1-inch headspace.
- Don’t forget altitude adjustments. Higher elevations require more pressure.
- Always remove bubbles. Trapped air affects sealing.
Storing and Using Your Canned Green Beans
- After jars cool, check the seals by pressing down the lid center. A sealed lid won’t flex.
- Label jars with the date.
- Store in a cool, dark, and dry place.
- Best quality if used within 12 months.
Ways to Enjoy Your Canned Beans:
- Heat and season with butter, garlic, or onions.
- Toss into a casserole for an easy side.
- Add to soups, stews, or slow cooker meals.
FAQ: How to Can Green Beans Safely
Q1: Can I water bath can green beans?
No. Green beans must be pressure canned to prevent botulism.
Q2: How long do canned green beans last?
Properly sealed jars last 12–18 months in storage.
Q3: Do I have to add salt?
No. Salt is optional and used for flavor only.
Q4: Which method is better—hot pack or raw pack?
Hot pack gives better quality, but raw pack saves time.
Q5: Can I add spices or herbs?
Yes. Dried seasonings like peppercorns or garlic powder can be added safely. Avoid oils, butter, or dairy.
Conclusion: Preserve Summer in a Jar
By now, you’ve learned exactly how to can green beans safely and successfully. You know the tools you’ll need, the difference between hot pack and raw pack, and the importance of pressure canning. Once you’ve canned your first batch, you’ll feel the same pride and joy that countless home canners have felt for generations.
So don’t wait for store prices to rise or for fresh beans to go out of season. Gather your green beans, set up your canner, and start filling your shelves with jars of home-grown goodness. The reward isn’t just food security—it’s the taste of summer, preserved for every season.
Your turn: What recipe will you try first with your home-canned green beans? Share your ideas and inspire others to begin their canning journey too!