Introduction
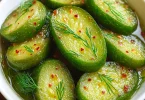
Think back to a summer afternoon when your grandmother or a family friend opened a jar of pickles and placed them on the table. The crunchy sound of the first bite, the balance of sweet and tangy flavors, and the way those pickles transformed even a simple sandwich into something extraordinary. That’s the magic of bread and butter pickles.
These pickles aren’t just food—they’re a tradition. They carry with them the warmth of family gatherings, the simplicity of homemade recipes, and the satisfaction of turning fresh cucumbers into something that lasts all year long.
Now it’s your turn to create that same magic in your kitchen. In this guide, you’ll learn exactly what bread and butter pickles are, why they’ve remained popular for generations, and how to make your own jars at home. With detailed steps, practical tips, and variations, you’ll have everything you need to master this timeless recipe.
What Are Bread and Butter Pickles?
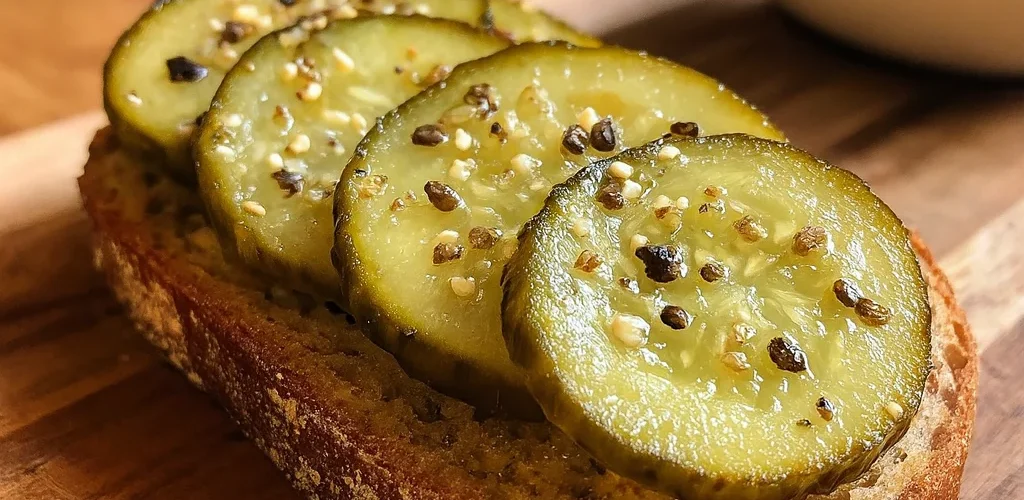
If you’ve ever wondered what makes bread and butter pickles so special, the answer lies in their unique flavor. Unlike dill pickles, which lean on sourness and herbs, bread and butter pickles strike a balance between sweet, tangy, and savory.
- Flavor profile: Mildly sweet with a gentle tang, accented by spices like mustard seeds, celery seeds, and turmeric.
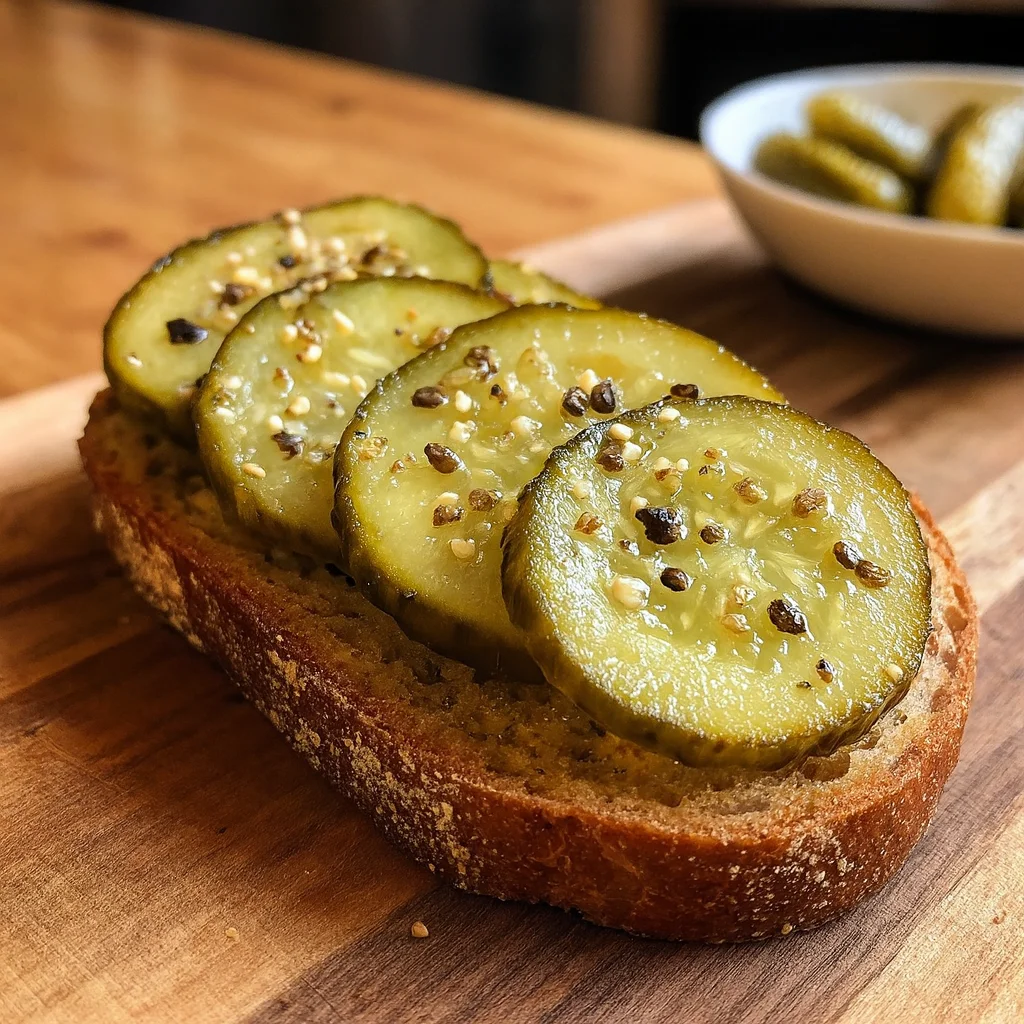
- Texture: Crunchy and crisp, perfect for layering on sandwiches or eating straight from the jar.
- History: These pickles gained popularity during the Great Depression. Families often paired them with simple bread and butter, giving them their memorable name.
Today, they remain a staple not just for nostalgic reasons but because they genuinely elevate meals.
Why Make Homemade Bread and Butter Pickles?
Store-bought jars are convenient, but they don’t hold a candle to the flavor and quality of homemade. When you make your own bread and butter pickles, you gain several benefits:
- Healthier choices: You control sugar, salt, and preservatives.
- Cost savings: Cucumbers are inexpensive in season, making homemade batches budget-friendly.
- Customizable taste: Add more garlic for punch, extra sugar for sweetness, or red pepper for spice.
- Tradition and pride: Every jar is a small celebration of self-reliance and culinary heritage.
Homemade pickles are more than food—they’re an extension of your creativity.
Ingredients for Bread and Butter Pickles
To get started, gather these fresh ingredients. Using high-quality cucumbers is the key to crisp, delicious pickles.
H3: Core Ingredients
| Ingredient | Quantity | Notes |
|---|---|---|
| Cucumbers | 4 lbs | Small, firm pickling cucumbers |
| Onions | 2 medium | Thinly sliced for sweetness |
| Pickling salt | ½ cup | Draws out water, keeps pickles crunchy |
| White vinegar | 3 cups | 5% acidity for safe preservation |
| Sugar | 2 cups | Balances acidity with sweetness |
| Mustard seeds | 1 ½ tbsp | Classic spice for flavor |
| Celery seeds | 1 ½ tsp | Adds depth |
| Turmeric | 1 tsp | Provides signature golden color |
H3: Optional Additions
- Red pepper flakes: For a spicy kick.
- Garlic cloves: For a sharper bite.
- Apple cider vinegar: Adds a fruity note compared to white vinegar.
Step-by-Step Guide to Making Bread and Butter Pickles
Making pickles may sound intimidating, but once you follow the steps, you’ll realize it’s simpler than you thought.
H3: Step 1 – Prepare the Cucumbers
- Wash cucumbers thoroughly.
- Slice them into ¼-inch rounds.
- Mix sliced cucumbers with onions and sprinkle with pickling salt.
- Let them sit in the refrigerator for 1–2 hours. This draws out excess water, ensuring crisp pickles.
H3: Step 2 – Make the Pickling Brine
- In a large pot, combine vinegar, sugar, mustard seeds, celery seeds, and turmeric.
- Bring to a boil while stirring until sugar fully dissolves.
- Reduce heat and let it simmer for a few minutes.
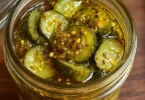
H3: Step 3 – Pack and Process the Jars
- Sterilize jars and lids by boiling them in water for 10 minutes.
- Pack the cucumber and onion mixture into the jars tightly but without crushing.
- Pour hot brine over the vegetables, leaving ½-inch headspace.
- Remove air bubbles by sliding a knife or chopstick along the inside of the jar.
- Wipe rims, apply lids, and screw on bands fingertip-tight.
H3: Step 4 – Process in a Water Bath
- Place jars in a boiling water canner.
- Process for 10 minutes (adjust for altitude if needed).
- Carefully remove jars and place on a towel to cool.
- Listen for the satisfying “pop” that signals a proper seal.
H3: Step 5 – Store and Wait
- Store jars in a cool, dark place.
- Let pickles rest for at least 2 weeks before opening for the best flavor.
Variations of Bread and Butter Pickles
Don’t be afraid to experiment. Here are some fun variations:
- Spicy bread and butter pickles: Add sliced jalapeños or chili flakes.
- Low-sugar pickles: Cut sugar in half or use natural sweeteners like honey.
- Garlic pickles: Add 2–3 garlic cloves per jar for bold flavor.
- Apple cider vinegar version: Swap some or all of the white vinegar for apple cider vinegar.
Common Mistakes to Avoid
Even small missteps can affect the quality of your pickles. Avoid these:
- Skipping the salt soak: Leads to soggy pickles.
- Too little vinegar: Unsafe acidity. Always follow tested ratios.
- Overprocessing jars: Results in soft, mushy pickles.
- Improper sealing: Always check lids for a proper vacuum seal.
Storage and Shelf Life
One of the joys of making bread and butter pickles is knowing you’ll have jars ready all year.
- Unopened jars: Store in a cool, dark pantry for 12–18 months.
- Opened jars: Refrigerate and consume within 3–4 weeks.
- Safety check: If you see cloudy brine, bulging lids, or off smells, discard the jar.
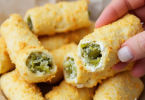
Serving Ideas for Bread and Butter Pickles
These pickles aren’t just for snacking. Here are creative ways to use them:
- Add to burgers and sandwiches for sweet crunch.
- Chop and mix into potato salad or coleslaw.
- Pair with cheese and crackers on a charcuterie board.
- Serve alongside fried chicken or barbecue.
Nutritional Information (Approximate per Serving)
| Nutrient | Amount |
|---|---|
| Calories | 35 |
| Carbohydrates | 8g |
| Sugar | 7g |
| Fiber | 1g |
| Sodium | 220mg |
(Values may vary depending on recipe adjustments.)
FAQs About Bread and Butter Pickles
Why are they called bread and butter pickles?
They became popular during the Great Depression, often eaten with simple bread and butter as a meal.
Can I make bread and butter pickles without sugar?
Yes, though the flavor changes. You can reduce sugar or use substitutes.
How long before bread and butter pickles are ready to eat?
Wait at least 2 weeks for the best balance of flavors.
What’s the difference between bread and butter pickles and dill pickles?
Bread and butter pickles are sweet and tangy; dill pickles are sour and herby.
Can I freeze bread and butter pickles?
Not recommended, as freezing alters the texture.
Conclusion
Bread and butter pickles are more than just a condiment—they’re a tradition worth keeping alive. Their perfect balance of sweetness and tang makes them a versatile snack and side dish. By making them at home, you not only get better flavor but also the pride of creating something lasting and personal.
So grab some cucumbers, gather your jars, and start your first batch. In just a few weeks, you’ll open a jar and hear that satisfying crunch that connects you to generations before you.
👉 Your Call-to-Action: Try making your own bread and butter pickles today. Experiment with flavors, share your jars with friends and family, and pass along this timeless recipe to the next generation.