Introduction: Preserving Summer Memories, One Pickle at a Time
Think back to summertime—warm afternoons, family picnics, the smell of barbecue filling the air. Somewhere on the table, there was always a bowl of pickles. The crisp snap, the tang of vinegar, the punch of garlic, and the herbal lift of dill—it wasn’t just food, it was part of the experience. Maybe you remember your grandmother lining shelves with jars of pickles in the basement, or your dad sneaking one straight from the jar before dinner.
Canning garlic dill pickles isn’t just about storing cucumbers—it’s about bottling memories, preserving the harvest, and ensuring that when winter comes, you still have a taste of summer waiting in your pantry. In this guide, you’ll learn exactly how to make your own garlic dill pickles, step by step. You’ll discover the best cucumbers to use, how to prepare your brine, how to safely can them, and how to make them crunchy every time.
By the end, you’ll be confident enough to fill your shelves with jars of homemade pickles—jars that carry flavor, tradition, and pride.
Why Canning Garlic Dill Pickles at Home?
You may ask, “Why go through all the effort when I can buy a jar at the store?” Once you’ve tried homemade garlic dill pickles, the answer is clear.
- Taste and Freshness: Store-bought pickles often sit on shelves for months, sometimes years. Your homemade pickles capture the brightness of fresh cucumbers and herbs.
- Health Benefits: You control what goes in. No artificial preservatives, dyes, or unnecessary additives—just simple, real ingredients.
- Cost Savings: Buy cucumbers in bulk when they’re in season, and you’ll save money compared to store-bought jars.
- Tradition: Canning is more than food preservation; it’s part of a homestead lifestyle, passed down for generations.
- Gift Potential: Homemade jars make thoughtful, heartfelt gifts for friends and family.
Choosing the Best Cucumbers for Garlic Dill Pickles
Not all cucumbers are created equal. If you’ve ever tried to make pickles with the wrong kind, you know the disappointment of mushy, flavorless results.
Ideal Varieties for Pickling
- Kirby Cucumbers: Firm, bumpy-skinned, classic for pickles.
- Boston Pickling Cucumbers: Known for consistent crunch and size.
- National Pickling Cucumbers: Popular heirloom choice, reliable texture.
Tips for Freshness
- Pick cucumbers the same day you plan to can.
- Choose small to medium cucumbers (3–5 inches long). Large cucumbers tend to be watery and soft.
- Avoid waxed cucumbers—brine won’t penetrate properly.
Essential Ingredients for Canning Garlic Dill Pickles
The magic of garlic dill pickles lies in their simplicity. With just a few fresh ingredients, you can create bold flavor that lasts.
Core Ingredients
- Fresh cucumbers
- Fresh garlic cloves
- Fresh dill (heads or dill seed)
- White vinegar (5% acidity)
- Water
- Pickling salt
- Optional spices: peppercorns, mustard seed, red pepper flakes
Ingredient Table
| Ingredient | Quantity | Notes |
|---|---|---|
| Cucumbers | 4 lbs | Small to medium, unwaxed |
| Garlic Cloves | 8–12 cloves | Peeled, halved for stronger flavor |
| Fresh Dill | 4–6 heads | Or 4 tsp dill seed |
| White Vinegar | 5 cups | 5% acidity required for safety |
| Water | 5 cups | Use filtered or distilled |
| Pickling Salt | ½ cup | Avoid table salt |
| Optional Spices | To taste | Peppercorns, mustard seed, chili |
Equipment Needed for Canning Garlic Dill Pickles
To ensure safe preservation, gather your tools before starting:
- Mason jars (pint or quart size).
- New lids and screw bands.
- Large stockpot or water bath canner.
- Canning funnel and ladle.
- Jar lifter and tongs.
- Clean towels for wiping rims.
Step-by-Step Guide to Canning Garlic Dill Pickles
This is where the magic happens. Follow these steps closely for crisp, tangy, and safe pickles every time.
Step 1: Preparing the Cucumbers
- Wash cucumbers thoroughly.
- Trim blossom ends (contains enzymes that soften pickles).
- Slice into spears, chips, or leave whole depending on your preference.
Step 2: Making the Brine
- In a pot, combine vinegar, water, and pickling salt.
- Bring to a boil, then reduce heat and keep hot.
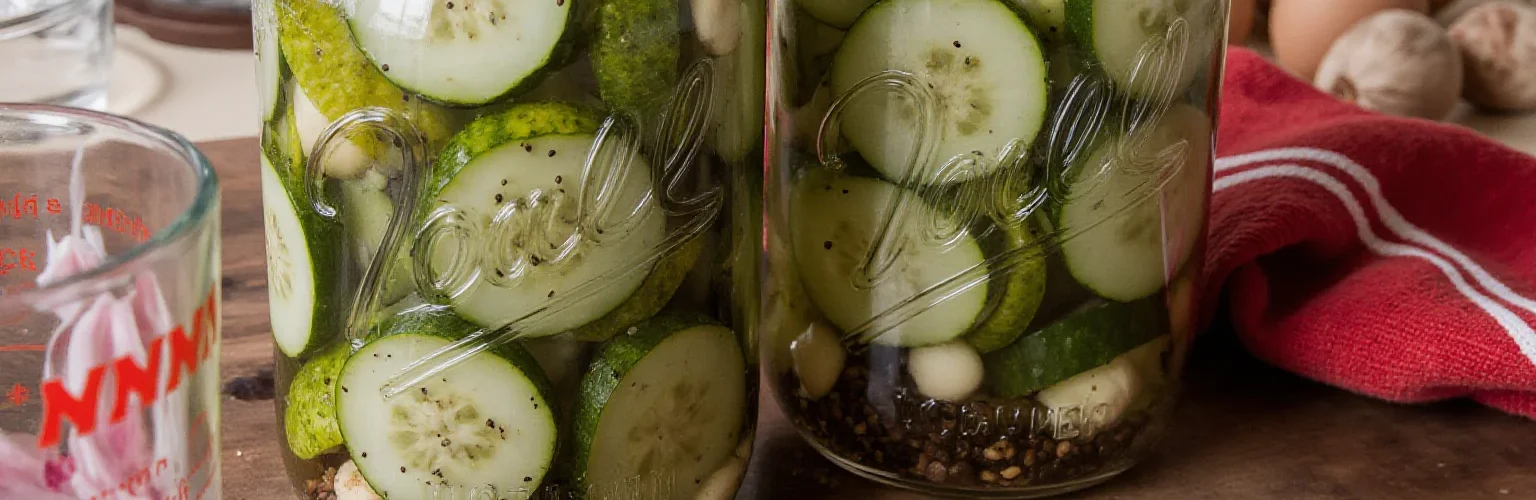
Step 3: Packing the Jars
- Place garlic and dill at the bottom of each sterilized jar.
- Pack cucumbers tightly but without crushing.
- Add optional spices for flavor variety.
Step 4: Adding the Brine
- Ladle hot brine over cucumbers, leaving ½ inch headspace.
- Remove air bubbles with a non-metal utensil.
- Wipe rims with a damp towel.
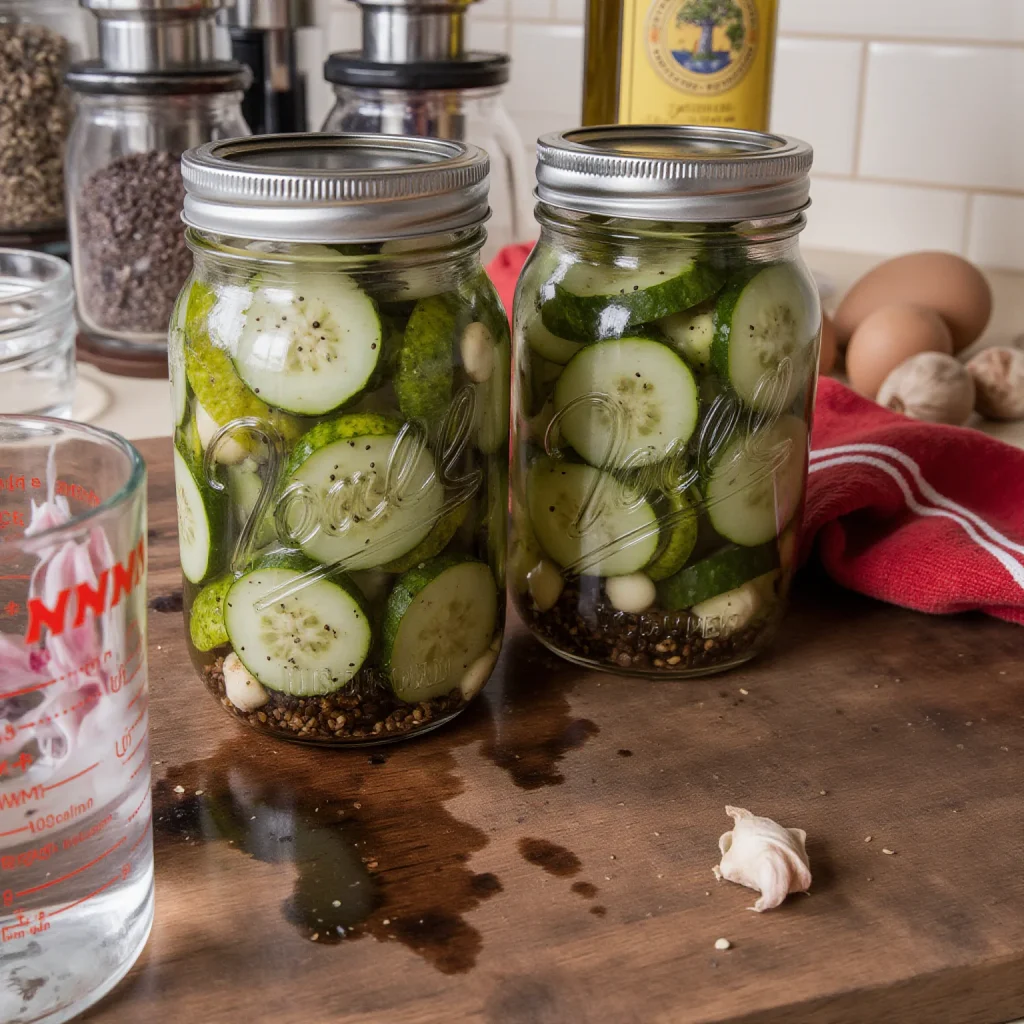
- Seal with lids and screw bands finger-tight.
Step 5: Processing in a Water Bath
- Place jars in boiling water bath for 10 minutes (adjust for altitude).
- Remove jars and let cool on a towel for 12–24 hours.
- Check seals before storing.
Flavor Variations for Garlic Dill Pickles
Once you master the classic recipe, experiment with different twists:
- Spicy Dill Pickles: Add red pepper flakes or a slice of jalapeño to each jar.
- Mustard Dill Pickles: Toss in mustard seeds for a tangy depth.
- Extra-Garlic Pickles: Double the garlic for bold, punchy flavor.
- Sweet and Dill Blend: Add 2–3 tbsp sugar to brine for a sweet-tart balance.
Storage and Shelf Life of Garlic Dill Pickles
Knowing how to store pickles ensures safety and quality.
- Pantry Storage: Properly sealed jars last 12–18 months in a cool, dark place.
- After Opening: Refrigerate and consume within 2 months.
- Best Flavor Tip: Wait at least 2–3 weeks after canning to allow flavors to develop fully.
Common Mistakes to Avoid
Even experienced canners can make mistakes. Here’s what to avoid:
- Using Table Salt: Can cloud brine and affect flavor.
- Skipping Blossom End Removal: Leads to soft pickles.
- Overprocessing Jars: Heat breaks down texture, making pickles mushy.
- Not Waiting Before Eating: Flavors need time to meld.
Frequently Asked Questions About Canning Garlic Dill Pickles
How long do homemade garlic dill pickles last?
Properly sealed jars last up to 18 months; opened jars last about 2 months in the refrigerator.
Do I need a pressure canner?
No, a boiling water bath is sufficient thanks to vinegar’s acidity.
How soon can I eat my pickles?
For the best flavor, wait at least 2–3 weeks after canning.
Can I use apple cider vinegar instead of white vinegar?
Yes, as long as it’s 5% acidity. It will add a slightly sweeter flavor.
Why are my pickles soft?
Soft pickles result from overripe cucumbers, leaving blossom ends attached, or overprocessing jars.
Conclusion: Crunchy Goodness in Every Bite
Canning garlic dill pickles is more than a recipe—it’s a tradition that connects past to present. Each jar you prepare represents time, care, and a love for good food. When you pop open a jar in the middle of winter and hear that satisfying crunch, you’ll be reminded why you took the time to can in the first place.
With just cucumbers, garlic, dill, and a little vinegar, you can create something that’s simple yet extraordinary. It’s about flavor, yes—but it’s also about self-sufficiency, tradition, and the joy of sharing.
Call to Action
Now it’s your turn. Grab fresh cucumbers, a handful of garlic, and some dill, and try canning garlic dill pickles for yourself. When you taste that crunch, you’ll never go back to store-bought.
👉 If this guide helped you, share it with your friends, or drop a comment below: Do you like your pickles spicy, garlicky, or classic?
Don’t forget to subscribe for more canning guides, homestead recipes, and kitchen inspiration. Your pantry deserves it!