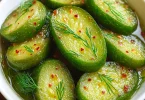
Classic Cucumber Pickles (Quick Dill Pickles): Homemade Crunch, Real Flavor
There’s something deeply nostalgic about opening a jar of homemade pickles. The crisp snap, the tangy aroma of vinegar mingling with fresh dill and garlic—it’s more than food. It’s a memory in the making.
Maybe you remember watching a grandparent carefully line up glass jars on the kitchen counter or sneaking a crunchy bite straight from the fridge during hot summer days. Whatever your story, Classic Cucumber Pickles (Quick Dill Pickles) offer a direct connection to tradition—with all the convenience modern life demands.
You don’t need canning equipment or weeks of fermentation. Just fresh cucumbers, a few pantry staples, and a desire to eat something real. Let’s dive in.
What Are Classic Cucumber Pickles (Quick Dill Pickles)?
The Essence of Quick Pickles
Quick dill pickles are cucumbers preserved in a vinegar-based brine, flavored with garlic, dill, and salt. Unlike traditional fermented pickles, which can take weeks to develop, these are ready in hours—and even better after a few days.
They’re often referred to as refrigerator pickles, because you store them cold rather than seal them through canning. This method gives you more flexibility, fewer steps, and a crisper, fresher taste.
Why Make Them Yourself?
When you make pickles at home, you control everything:
- No artificial preservatives or colorings
- Adjustable flavors to suit your taste
- More crunch and freshness than store-bought brands
- Cost-effective—you get premium flavor for less
You’re not just making food. You’re creating something honest and yours.
Ingredients for Classic Cucumber Pickles (Quick Dill Pickles)
Your Pickling Checklist
| Ingredient | Quantity | Notes |
|---|---|---|
| Fresh cucumbers | 1 lb (about 4–6 small) | Kirby or Persian types for best crunch |
| White vinegar | 1 cup | Apple cider vinegar also works |
| Water | 1 cup | Equal parts water and vinegar for balance |
| Kosher salt | 1 tbsp | Avoid iodized salt—it can cloud your brine |
| Fresh dill | 4–6 sprigs | Essential for the “dill” profile |
| Garlic cloves | 2–3, smashed | Adds sharp, earthy flavor |
| Sugar (optional) | 1 tsp | Balances acidity |
| Pickling spices | 1 tsp (optional) | Includes mustard seeds, peppercorns, etc. |
Add-On Ideas
- Red pepper flakes for a fiery kick
- Bay leaves for subtle depth
- Coriander or mustard seeds for complexity
This list isn’t rigid. Use what you love, leave out what you don’t.
How to Make Quick Dill Pickles at Home
Step-by-Step Instructions
Making quick dill pickles doesn’t have to be complicated. Here’s how to get it right:
1. Prep the Cucumbers
- Wash thoroughly to remove dirt or wax.
- Slice into spears, rounds, or halves—your call.
- Trim ends (especially the blossom end) to avoid softening.
2. Make the Brine
- Combine vinegar, water, salt, and sugar in a saucepan.
- Heat until salt and sugar are fully dissolved.
- Let it cool slightly (so you don’t cook the cucumbers).
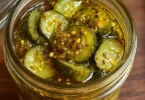
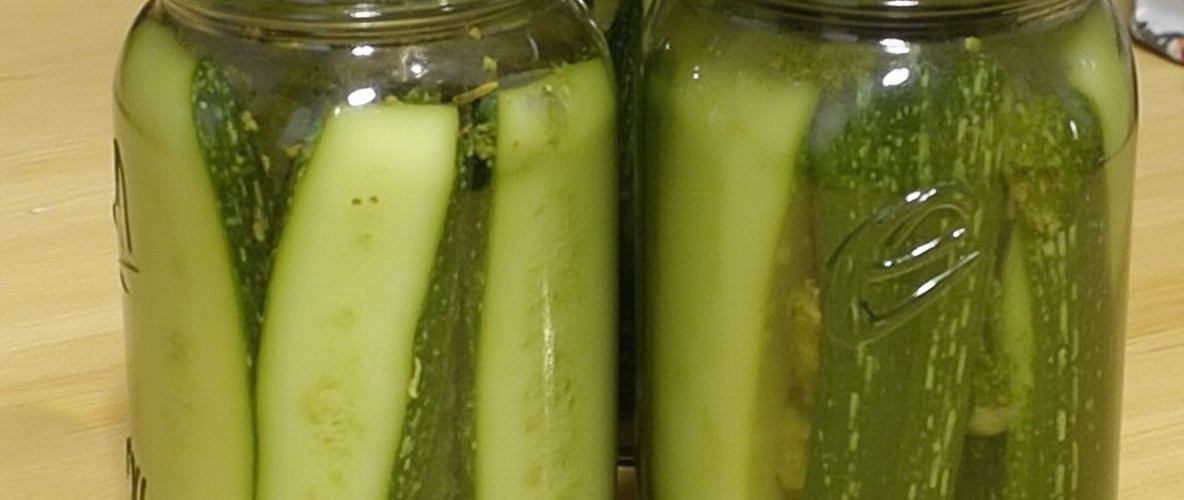
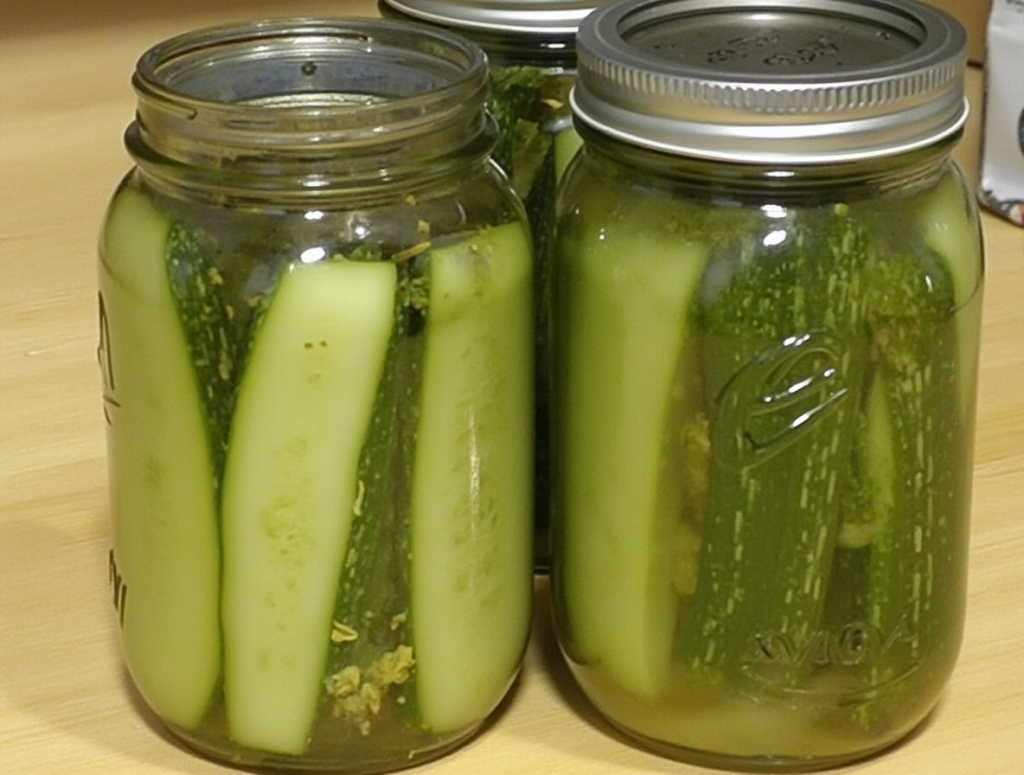
3. Pack the Jars
- In clean glass jars, layer cucumber slices, garlic, dill, and spices.
- Pack tightly but don’t crush them.
4. Add the Brine
- Pour the warm brine over the cucumbers, fully covering them.
- Tap jars gently to release air bubbles.
5. Seal and Refrigerate
- Cap the jars and let them cool to room temperature.
- Refrigerate. They’ll be tasty in 24 hours, incredible in 3–5 days.
You just made a homemade snack with zero stress.
Tips for Crisp, Flavor-Packed Pickles
Best Practices
To get the best texture and flavor:
- Use the freshest cucumbers possible
- Stick with non-iodized salt to prevent brine clouding
- Let the pickles rest in the fridge for at least 48 hours for optimal taste
- Keep them submerged to avoid spoilage
Avoid These Mistakes
Even a simple recipe can go wrong if you’re not careful:
- Boiling hot brine: It can soften the cucumbers
- Skipping salt or vinegar: These are essential for preservation
- Opening too early: Give them time to absorb flavor
A little patience goes a long way.
Flavor Variations to Try
Customize Your Classic
Once you’ve mastered the base recipe, branch out:
Spicy Garlic Pickles
- Add 1/2 tsp crushed red pepper flakes
- Extra garlic cloves for boldness
Sweet Dill Pickles
- Increase sugar to 2–3 tbsp
- Perfect if you like the bread-and-butter style
Herbaceous Pickles
- Mix in rosemary, thyme, or tarragon
- Unexpected flavors that elevate your pickle game
Veggie Medley
- Carrots, onions, radishes, and green beans also pickle beautifully
- Use the same brine, different textures
Your fridge can become a flavor lab. And the jars? Little edible experiments.
Shelf Life, Storage, and Safety
How Long Will They Last?
Refrigerated quick pickles stay fresh for 3–4 weeks. Their flavor peaks within the first 10 days but remains tasty beyond that.
Storing Your Pickles Safely
- Use clean, dry jars
- Make sure pickles are fully submerged
- Always use a clean utensil to avoid contamination
If the brine gets cloudy or smells off, it’s time to toss it. Better safe than sorry.
Nutrition and Health Benefits
Nutritional Breakdown (Per Serving ~2 Spears)
| Nutrient | Approx. Amount |
| Calories | 10–15 kcal |
| Carbs | 1–2g |
| Sodium | 300–400 mg |
| Fiber | 0.5g |
| Fat | 0g |
Are Pickles Good for You?
- Low-calorie: Great for snacking without guilt
- Flavorful: Satisfy cravings with fewer calories
- Probiotic potential: Only in fermented types—not quick pickles
Quick pickles won’t improve your gut health, but they’ll boost your joy per bite.
Serving Ideas and Pairings
How to Eat Your Pickles
Here’s how to enjoy your homemade pickles beyond straight-from-the-jar:
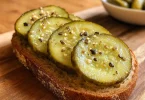
- Add to sandwiches and burgers for a crunchy zing
- Pair with grilled meats or BBQ
- Dice into potato salad for extra flavor
- Serve on a charcuterie board
- Snack on them with cheese and crackers
They add brightness and balance to almost anything savory.
Frequently Asked Questions (FAQs)
What’s the difference between quick dill pickles and fermented pickles?
Quick dill pickles are made with vinegar and refrigerated immediately. Fermented pickles sit at room temperature and rely on natural bacteria to create acidity.
Can I use table salt?
Avoid it. Iodized salt can make your brine cloudy and affect texture. Stick with kosher or pickling salt.
How soon can I eat them?
Technically after 24 hours, but the flavor really shines after 2–3 days.
Do I need to sterilize the jars?
For quick pickles, a good wash in hot soapy water and a rinse is fine. You’re not canning them, so no need for boiling.
Can I reuse the brine?
No. The flavor gets diluted, and it can become unsafe. Make fresh brine every time.
Can I freeze quick pickles?
Not recommended. Freezing changes the texture dramatically—think mush, not crunch.
Conclusion: Make Your Pickles, Make Your Moments
You don’t need a garden, a cellar, or a canning kit to enjoy real pickles. You just need cucumbers, a few kitchen staples, and a little bit of curiosity.
By making Classic Cucumber Pickles (Quick Dill Pickles) at home, you bring an old tradition into your modern kitchen. It’s affordable, customizable, and deeply satisfying. And let’s face it—few things beat that first crisp, tangy bite from a jar you made yourself.
So go ahead. Start small, maybe one jar. Taste the difference. Feel the crunch. Share it with someone.
Call to Action
Now that you know how easy and rewarding it is to make your own Classic Cucumber Pickles (Quick Dill Pickles), what are you waiting for?
👉 Head to your local market, grab some fresh cucumbers, and start pickling today.
📸 Share your creations online. Tag them with #HomemadePickles or #QuickDillPickles so others can enjoy your success.
You’ve got this—and your fridge is about to get a whole lot crunchier.