Introduction
There are few things in life as comforting as the smell of freshly baked bread drifting through your kitchen. It’s a scent that feels like home—warm, welcoming, and deeply satisfying. If you’ve ever sliced into a loaf that you made yourself, you know that pride and joy taste even better when paired with butter melting into the crumb.
But here’s the good news: you don’t need to be a professional baker to enjoy that feeling. With an easy sourdough sandwich bread recipe, you can bake a loaf that’s soft, delicious, and perfect for everyday use. This bread isn’t just for special occasions—it’s designed to be your go-to loaf for sandwiches, toast, and snacks.
In this guide, you’ll learn how to bake sourdough sandwich bread step by step, why it’s healthier and tastier than store-bought bread, and how you can adapt the recipe to suit your lifestyle. Whether you’re new to sourdough or looking for a reliable loaf-pan recipe, this article will give you the confidence and know-how to succeed.
H2: Why Choose an Easy Sourdough Sandwich Bread Recipe?
Baking sourdough may feel intimidating at first, but once you try it, you’ll realize how approachable it is—and why so many people fall in love with it.
H3: Health Benefits of Sourdough
- Naturally fermented, which makes it easier to digest.
- Lower glycemic index than regular white bread.
- Rich in beneficial bacteria and enzymes.
- May be tolerated better by people sensitive to gluten.
H3: Flavor and Texture
- Tangy, slightly nutty flavor unique to sourdough.
- Soft crumb, chewy crust—ideal for sandwiches.
- No commercial yeast needed, just a natural starter.
H3: Simplicity
- Minimal ingredients.
- Easy stretch-and-fold method instead of kneading.
- Loaf-pan baking makes it perfect for everyday use.
H2: Ingredients for Easy Sourdough Sandwich Bread Recipe
Here’s everything you’ll need to make your loaf.
H3: Core Ingredients (Table)
| Ingredient | Quantity | Notes |
|---|---|---|
| Active sourdough starter | ½ cup (100 g) | Must be fed and bubbly |
| All-purpose flour | 4 cups (480 g) | Replace part with whole wheat if desired |
| Water | 1 ½ cups (360 g) | Room temperature |
| Salt | 2 tsp (12 g) | Balances flavor and fermentation |
| Honey or sugar | 1 tbsp (15 g) | Adds slight sweetness |
| Butter or olive oil | 2 tbsp (28 g) | Makes crumb softer and richer |
H3: Optional Additions
- Seeds (flax, sesame, sunflower) for texture.
- Whole wheat flour for nuttiness.
- Milk instead of water for softness.
H2: Step-by-Step Guide to Making Easy Sourdough Sandwich Bread
H3: Step 1 – Feed and Prepare the Starter
- Ensure your starter has been fed 4–12 hours before baking.
- Look for bubbles and a slight dome shape—it should be active.
H3: Step 2 – Mix the Dough
- In a large bowl, combine starter, flour, water, salt, honey, and butter.
- Stir until no dry flour remains. Dough will look shaggy.
H3: Step 3 – Autolyse (Rest the Dough)
- Let the dough rest for 30–45 minutes.
- This allows flour to hydrate and gluten to begin forming.
H3: Step 4 – Stretch and Fold
- Over the next 2 hours, perform 3–4 sets of stretch-and-folds every 30 minutes.
- This strengthens the dough without kneading.
H3: Step 5 – Bulk Fermentation
- Cover the dough and let it rise at room temperature for 4–6 hours.
- It should nearly double in size and feel airy.
H3: Step 6 – Shape the Loaf
- Gently turn dough onto a floured surface.
- Shape into a log and place into a greased loaf pan.
H3: Step 7 – Final Proof
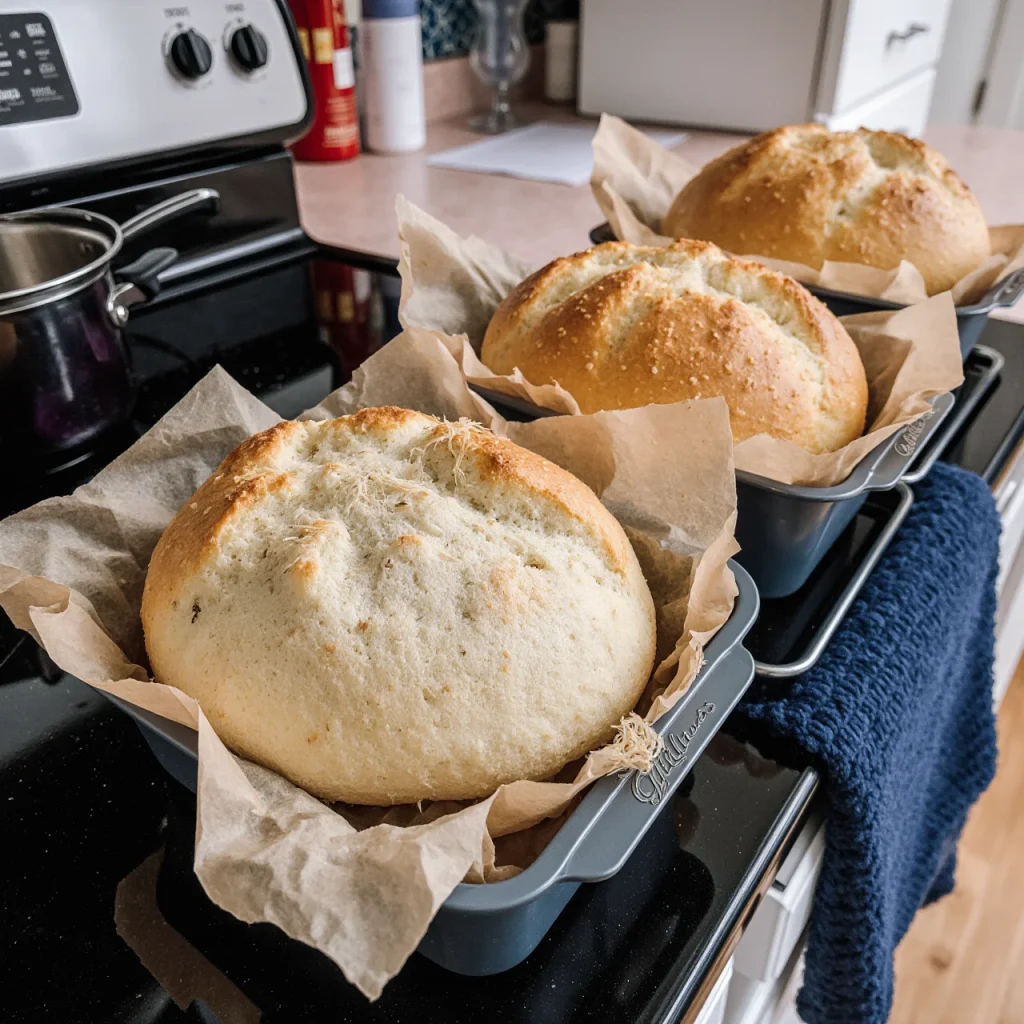
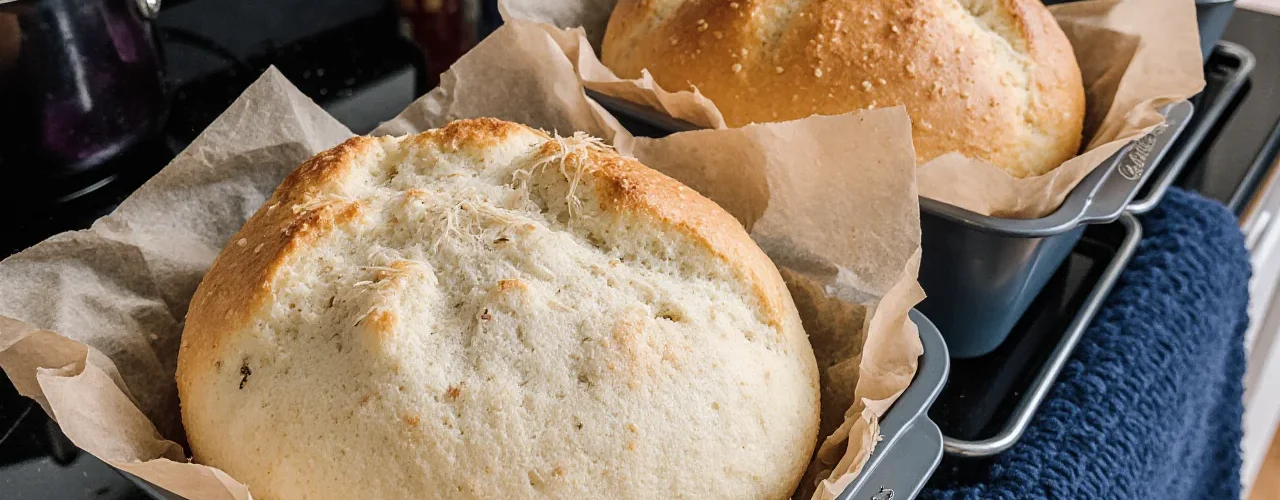
- Let dough rise 2–4 hours until it crowns about 1 inch over the pan.
- If your kitchen is cold, this may take longer.
H3: Step 8 – Bake
- Preheat oven to 375°F (190°C).
- Bake for 35–40 minutes until golden brown.
- Check internal temperature: 200°F (93°C).
H3: Step 9 – Cool and Slice
- Cool bread completely on a wire rack before slicing.
- Cutting too early can cause gummy texture.
H2: Tips for the Best Easy Sourdough Sandwich Bread Recipe
- Always use an active starter for proper rise.
- Don’t rush fermentation—flavor develops slowly.
- Use a digital thermometer to check doneness.
- For softer crust, brush with melted butter after baking.
- Freeze slices in bags for easy toasting later.
H2: Variations of Easy Sourdough Sandwich Bread
- Whole Wheat Loaf → Replace 25–50% of flour with whole wheat.
- Seeded Sourdough → Mix in sesame, flax, or sunflower seeds.
- Sweet Loaf → Add raisins, cinnamon, or extra honey.
- Enriched Loaf → Use milk and add 1 egg for extra richness.
H2: Common Mistakes to Avoid
- Using inactive starter → results in dense bread.
- Over-proofing → loaf collapses in the oven.
- Cutting too early → slices become gummy.
- Not weighing ingredients → inconsistent results.
H2: Storage and Serving Suggestions
H3: Storage
- Keep loaf in a bread box or wrapped in a towel for 2–3 days.
- Refrigeration not recommended (dries bread out).
- Freeze slices in an airtight bag for up to 2 months.
H3: Serving Ideas
- Sandwiches (classic ham and cheese, turkey, veggie).
- Toast with butter, jam, or avocado.
- Grilled cheese or French toast.
- Croutons for salads.
H2: Nutritional Value (Per Slice, Approx.)
| Nutrient | Amount |
|---|---|
| Calories | 120 |
| Carbohydrates | 24 g |
| Protein | 4 g |
| Fat | 2 g |
| Fiber | 2 g |
H2: FAQs About Easy Sourdough Sandwich Bread Recipe
H3: Can I make sourdough sandwich bread without a starter?
No, the starter is essential for sourdough’s fermentation and flavor.
H3: How do I know if my bread is baked through?
Check with a thermometer: 200°F (93°C) inside.
H3: Can I use whole wheat flour?
Yes—start with partial substitution to keep bread soft.
H3: Why is my bread too dense?
Most likely under-proofed dough or weak starter.
H3: How do I get a softer crust?
Brush loaf with butter right after baking.
Conclusion
Baking your own loaf with this easy sourdough sandwich bread recipe is more than cooking—it’s an experience. Each step, from feeding the starter to slicing the finished loaf, connects you to a tradition of nourishment and care.
With just a few ingredients and some patience, you’ll have a soft, flavorful bread that’s perfect for everyday meals. Whether you toast it in the morning, pack it in sandwiches, or turn it into French toast, this bread will quickly become a household favorite.
👉 Call-to-Action: Start today! Feed your starter, follow these steps, and bake your first sourdough sandwich loaf. Share your success with family, friends, or even your online community—you’ll be surprised how many people will want a slice.


