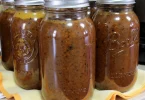
Introduction: Why Canning Butter at Home Matters
There’s something magical about walking into your kitchen and seeing rows of neatly lined jars filled with homemade preserves. Maybe it’s the warm feeling of self-sufficiency, or maybe it’s the knowledge that you’re carrying on traditions passed down through generations. For many, the thought of canning butter at home sparks curiosity, nostalgia, and even a little skepticism.
If you’ve ever enjoyed a pat of golden butter melting over hot biscuits and thought, “I wish I could store this goodness for the long haul,” you’re in the right place. Canning butter at home is a practice that blends practicality with tradition. It’s about more than just extending shelf life—it’s about knowing that your pantry holds the fruits of your own effort.
In this guide, you’ll learn not just the “how,” but also the “why.” You’ll discover the equipment you need, the safest methods, and even recipes for flavored butter that will elevate your meals. By the end, you’ll feel empowered to try this process yourself, with the confidence that you’re doing it the right way.
What Is Canning Butter and Why Do It?
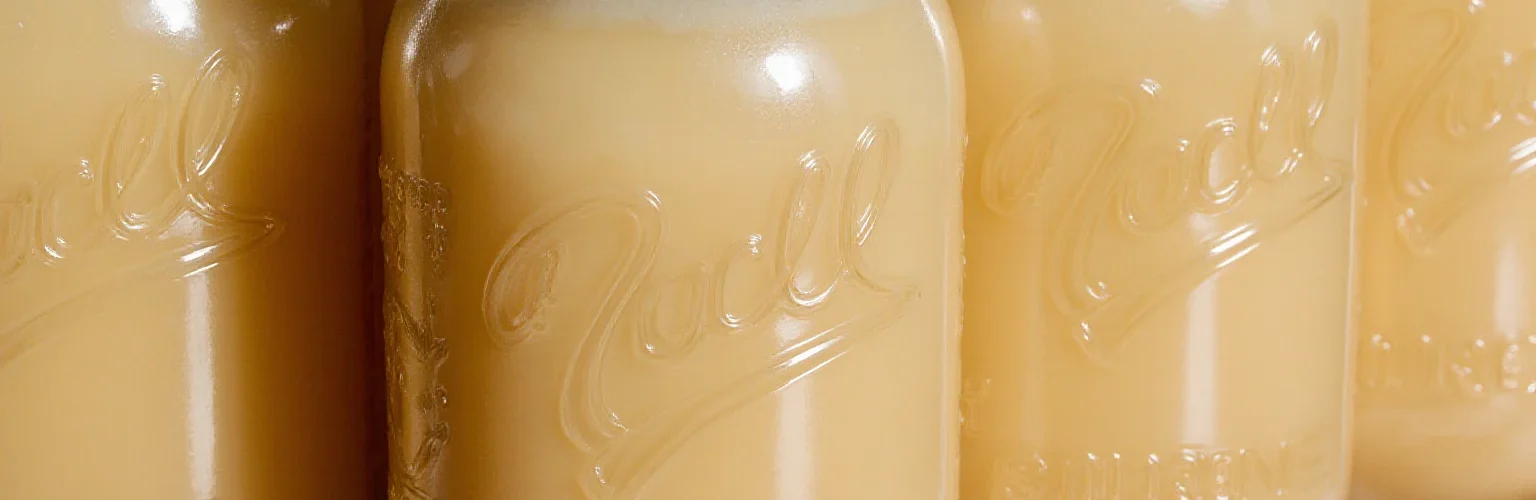
Canning butter is the process of preserving butter in sterilized jars, sealing them to keep air, bacteria, and moisture out. Unlike freezing, which is the most common preservation method, canning allows you to keep butter shelf-stable for longer periods without taking up space in your freezer.
Benefits of Home-Canned Butter
- Extended Shelf Life: When done correctly, canned butter can last up to 12–18 months in a cool, dark pantry.
- Cost-Effective: Buy butter in bulk when prices dip and preserve it for future use.
- Convenience: No need to thaw frozen sticks; your butter is ready whenever you need it.
- Preparedness: Ideal for those who value food security, homesteading, or prepping.
- Flavor Control: You can create flavored butters like garlic, herb, or honey butter right at home.
Safety First – Can You Really Can Butter at Home?
Here’s where things get a little tricky. While many homesteaders and traditional canners swear by this method, the USDA does not recommend home canning butter due to potential risks like botulism. Butter is a low-acid food, and that makes it harder to preserve safely compared to fruits or pickles.
USDA and Food Safety Guidelines
- The USDA warns against canning butter because it provides an environment where dangerous bacteria could thrive.
- Dairy products in general are tricky for home canning.
Safe Alternatives for Preserving Butter
Even if you decide canning isn’t for you, there are excellent alternatives:
- Freezing Butter: Wrap butter tightly in foil or store in airtight containers. Lasts up to a year.
- Ghee (Clarified Butter): Removing milk solids extends shelf life and makes it shelf-stable.
- Powdered Butter: Available in specialty stores; rehydrates with water.
That said, many people still choose to can butter at home. If you decide to try, do so with care and an understanding of the risks.
Equipment You’ll Need for Canning Butter at Home
Before you start, gather the right tools. Having everything ready makes the process smoother and safer.
- Pressure Canner or Water Bath Canner: While some rely on water bath canning, a pressure canner is considered safer for low-acid foods.
- Sterilized Jars and Lids: Half-pint or pint mason jars work best.
- Ladle and Funnel: For transferring melted butter into jars.
- Jar Lifter: Keeps your hands safe when handling hot jars.
- Large Pot: For melting butter evenly.
- Clean Towels: To wipe jar rims and prevent seal failures.
Step-by-Step Guide to Canning Butter at Home
Ingredients You’ll Need
- Unsalted Butter: Fresh, high-quality butter works best.
- Salt (Optional): Enhances flavor and can slightly extend shelf life.
Instructions
- Melt the Butter: Place butter in a heavy-bottomed pot and heat slowly over low heat until fully melted. Stir occasionally.
- Skim the Foam: As butter melts, skim off the foam and impurities that rise to the top.
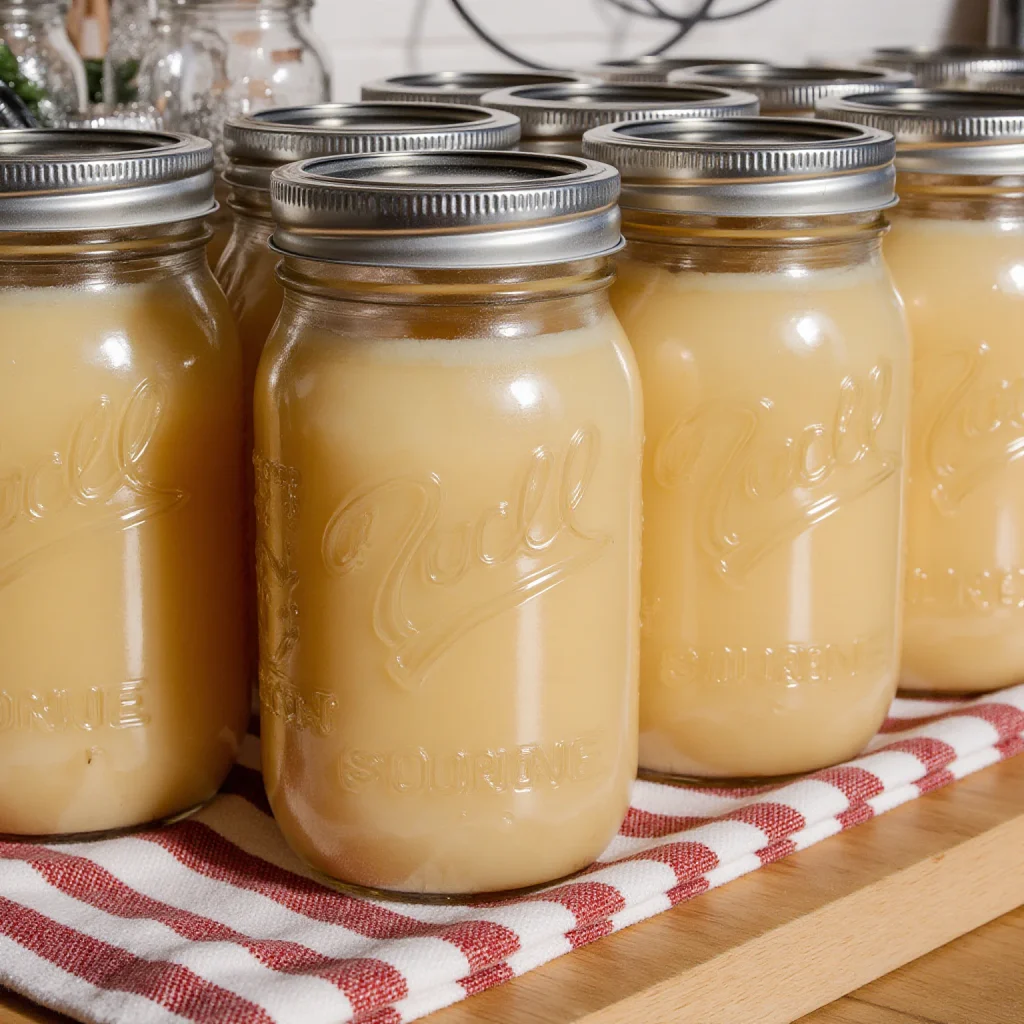
- Prepare Jars: Sterilize jars in boiling water or your dishwasher’s sterilize cycle. Keep them hot until ready to use.
- Pour the Butter: Using a ladle and funnel, carefully pour melted butter into jars, leaving ½ inch of headspace.
- Seal the Jars: Wipe rims clean with a towel, then secure lids and rings.
- Process the Jars:
- If using a water bath canner, process for 60 minutes.
- If using a pressure canner, follow manufacturer’s instructions.
- Cool and Store: Allow jars to cool undisturbed for 12–24 hours. Check seals before storing in a cool, dark place.
Recipes and Variations for Home-Canned Butter
Plain butter is wonderful, but why stop there? Infusing butter with flavors can elevate your cooking.
Garlic Butter
- Ingredients:
- 1 lb unsalted butter
- 3 garlic cloves, minced
- Pinch of salt
- Notes: Perfect for bread, pasta, and grilled vegetables.
Herb Butter
- Ingredients:
- 1 lb unsalted butter
- 2 tbsp fresh herbs (parsley, thyme, rosemary)
- Notes: Ideal for roasted meats or sautéed veggies.
Honey Butter
- Ingredients:
- 1 lb unsalted butter
- 3 tbsp raw honey
- Notes: A sweet, creamy spread for breakfast or baking.
Recipe Table
| Recipe | Ingredients | Notes |
|---|---|---|
| Garlic Butter | 1 lb butter, 3 garlic cloves, pinch of salt | Great on bread and pasta |
| Herb Butter | 1 lb butter, 2 tbsp herbs | Perfect with roasted meats |
| Honey Butter | 1 lb butter, 3 tbsp raw honey | Sweet addition for breakfasts |
Storage and Shelf Life of Canned Butter
Once you’ve canned your butter, storing it correctly is key.
- Ideal Storage Conditions: Keep jars in a cool, dark place like a pantry or cellar.
- Shelf Life: Typically lasts 12–18 months if sealed properly.
- Signs of Spoilage:
- Off smell or sour odor.
- Mold or discoloration.
- Bulging lids or leaking.
If in doubt, throw it out. Safety always comes first.
Common Mistakes When Canning Butter at Home
Avoid these errors to ensure success:
- Skipping Sterilization: Dirty jars invite bacteria.
- Overfilling Jars: Prevents proper sealing.
- Using Poor-Quality Butter: Results in off flavors and shorter shelf life.
- Ignoring Safety Guidelines: Always err on the side of caution.
Frequently Asked Questions About Canning Butter at Home
Is it safe to can butter at home?
While many do it, the USDA does not officially recommend it. Always weigh the risks before proceeding.
How long does canned butter last?
When stored properly, it can last up to 18 months.
Can I use salted butter?
Yes, but keep in mind it may slightly alter flavor and texture.
Do I need a pressure canner?
It’s strongly recommended for safety, though some people use a water bath method.
Can I add flavors when canning?
Yes, but understand that fresh herbs or garlic can introduce moisture and bacteria. Dried herbs are safer.
Conclusion: Bringing Tradition Back with Canning Butter at Home
Canning butter at home is more than just a preservation technique—it’s a way to embrace tradition, reduce waste, and enjoy the fruits of your effort year-round. While there are safety concerns to consider, many homesteaders continue to practice this method with care.
Whether you decide to try canning butter, freezing it, or experimenting with clarified butter, the goal remains the same: having nourishing, flavorful food ready when you need it.
So why not give it a try? Start with a small batch, experiment with flavored recipes, and discover the satisfaction of opening a jar of butter you preserved yourself.
Call to Action
If you’re ready to take your food preservation skills to the next level, start by gathering the tools and ingredients you need for canning butter at home. Don’t stop here—explore other preservation methods like canning vegetables, fruits, and even homemade sauces.
👉 Share this guide with your fellow homesteaders, leave a comment about your experience, and subscribe for more hands-on food preservation tips. Your pantry—and your future self—will thank you.