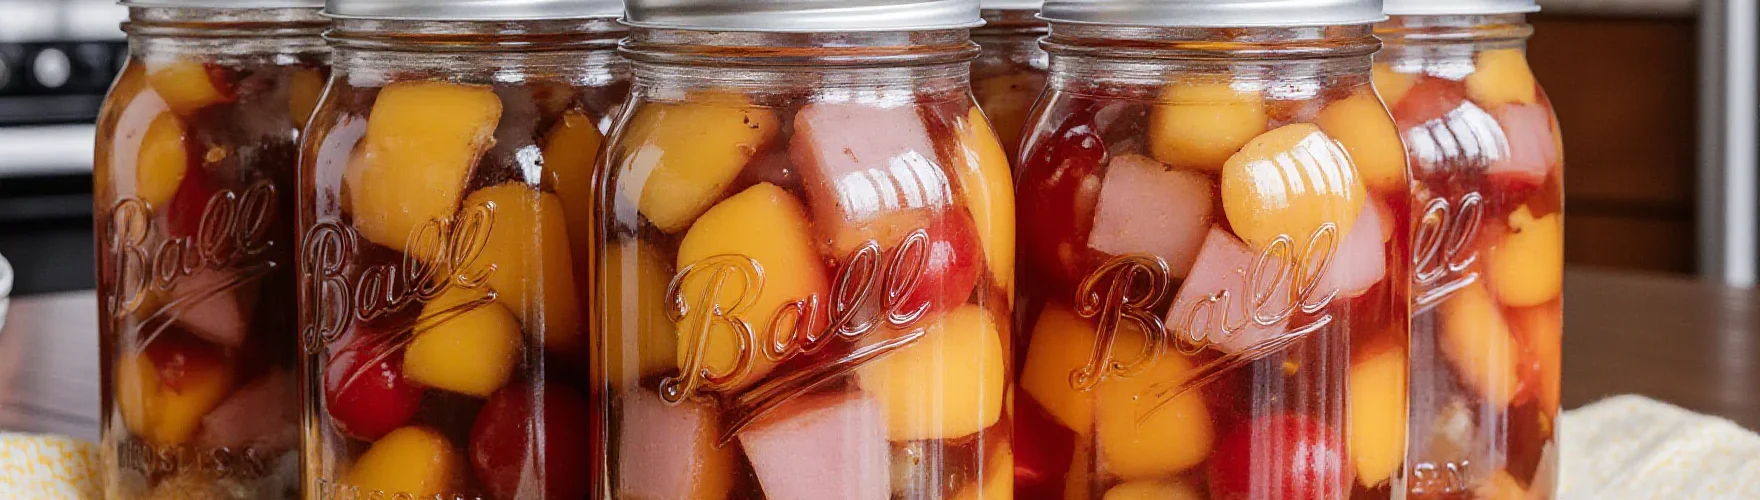
Introduction: Sweet Memories Preserved in Glass
Close your eyes for a moment and think back to childhood. Maybe you remember your mom opening a can of fruit cocktail and serving it as a sweet treat at the end of a meal. Those bright peaches, juicy pears, grapes, cherries, and pineapples weren’t just fruit—they were a reminder of sunshine, family, and simple joy.
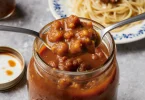
Now imagine taking that same tradition, but making it healthier, fresher, and completely your own. That’s the beauty of a canning fruit cocktail recipe. Instead of relying on store-bought cans packed with syrupy additives, you can prepare jars filled with hand-selected fruit, simmered in light syrup, and sealed to last for months. Every spoonful tastes like summer in a jar, ready to brighten up a winter breakfast, a holiday dessert, or even a quick snack.
This guide walks you through everything you need to know—from the best fruits to choose, to step-by-step canning instructions, safety tips, and creative uses. By the time you finish, you’ll feel ready to stock your pantry with colorful jars of homemade fruit cocktail that will make you proud every time you open one.
Why Make a Homemade Canning Fruit Cocktail Recipe?
There are plenty of reasons why you should consider making your own fruit cocktail instead of buying pre-packaged cans.
1. You Control the Ingredients
- Store-bought versions often contain artificial sweeteners, corn syrup, or preservatives.
- With homemade, you control everything: the fruit, the syrup strength, and the flavor add-ins.
2. The Taste is Superior
- Fresh, ripe fruit has a depth of flavor that canned goods just can’t match.
- You can pick perfectly balanced fruit combinations that suit your taste.
3. Seasonal Savings
- When fruit is abundant and cheap in the summer, buy in bulk.
- Preserve it, and you’ll enjoy that flavor long after the season ends.
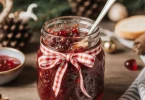
4. Homemade Gifts
- A jar of homemade fruit cocktail makes a thoughtful and colorful gift.
- Pair with a ribbon and handwritten tag for a rustic, heartfelt touch.
5. Preserving Tradition
- Canning isn’t just about food—it’s about carrying forward homesteading traditions.
- Every jar you prepare is an act of preserving history as well as flavor.
Best Fruits to Use for Canning Fruit Cocktail
Not all fruits are equal when it comes to canning. Some hold their texture beautifully, while others become mushy.
Classic Fruit Cocktail Blend
- Peaches – sweet and soft.
- Pears – mild and slightly grainy texture.
- Pineapple – tropical brightness and tartness.
- Grapes – little bursts of sweetness.
- Cherries – color pop and tang.
Other Options to Try
- Apples (firm varieties like Fuji or Honeycrisp).
- Plums or apricots.
- Mango for a tropical twist.
- Kiwi (in moderation, as it can soften quickly).
Tips for Choosing Fruit
- Select fruit that is ripe but still firm. Overripe fruit will fall apart during processing.
- Cut pieces into uniform size for a visually appealing jar.
- Use a mix of sweet and tart fruits for balance.
Ingredients for Canning Fruit Cocktail Recipe
This recipe makes about 6 pint-sized jars of fruit cocktail. Adjust quantities depending on your harvest.
Ingredient Table
| Ingredient | Quantity | Notes |
|---|---|---|
| Peaches | 2 cups | Peeled, pitted, diced |
| Pears | 2 cups | Peeled, cored, diced |
| Pineapple | 1½ cups | Fresh, diced |
| Grapes | 1 cup | Seedless, halved if large |
| Cherries | 1 cup | Pitted (fresh or maraschino) |
| Sugar | 2 cups | For light or medium syrup (adjust taste) |
| Water | 4 cups | For syrup base |
| Lemon Juice | 2 tbsp | Keeps fruit bright, prevents browning |
Equipment Needed
- Mason jars with new lids and bands.
- Large stockpot or water bath canner.
- Sharp knife and cutting board.
- Jar funnel and ladle.
- Jar lifter and tongs.
- Large mixing bowls.
- Saucepan for syrup.
How to Make Canning Fruit Cocktail Recipe (Step-by-Step)
Step 1: Prepare the Fruit
- Wash all fruit thoroughly.
- Peel, pit, or core fruits as needed.
- Dice fruit into bite-sized pieces.
- Toss with lemon juice to slow browning.
Step 2: Make the Syrup
Choose the syrup strength based on your taste:
- Light Syrup: 1 cup sugar to 4 cups water.
- Medium Syrup: 2 cups sugar to 4 cups water.
- Heavy Syrup: 3 cups sugar to 4 cups water.
Bring sugar and water to a boil, then reduce heat to keep warm.
Step 3: Fill the Jars
- Pack diced fruit into sterilized jars, layering for a colorful effect.
- Pour hot syrup over fruit, leaving ½ inch headspace.
- Remove air bubbles with a non-metal spatula.
- Adjust syrup level if needed.
- Wipe jar rims, apply lids, and tighten bands finger-tight.
Step 4: Process the Jars
- Place jars in boiling water bath canner.
- Process pints for 20 minutes (adjust for altitude).
- Carefully remove and let cool on a towel for 12–24 hours.
- Check seals before storing.
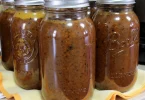
Storage and Shelf Life
- Store sealed jars in a cool, dark pantry for 12–18 months.
- Once opened, refrigerate and use within one week.
- Discard any jars with broken seals, cloudy liquid, or sour smell.
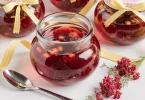
Flavor Variations
Canning fruit cocktail is flexible—you can infuse flavors into the syrup to create something unique.
- Citrus Twist: Add lemon or orange slices to jars.
- Spiced Syrup: Simmer syrup with cinnamon sticks or cloves.
- Honey-Sweetened: Replace part of sugar with honey.
- Vanilla Infused: Add 1 tsp vanilla extract to syrup before filling jars.
Creative Ways to Use Canned Fruit Cocktail
Your jars aren’t limited to snacks—they’re versatile.
- Serve chilled over yogurt or oatmeal.
- Spoon onto pancakes or waffles.
- Use as filling for cakes, tarts, or turnovers.
- Mix into cottage cheese or whipped cream.
- Make a quick fruit salad in minutes.
- Use as topping for ice cream.
Common Mistakes to Avoid
- Using Overripe Fruit: Becomes mushy during canning.
- Improper Headspace: Leads to failed seals.
- Skipping Lemon Juice: Causes browning and flat flavor.
- Not Processing Long Enough: Risks spoilage.
Frequently Asked Questions About Canning Fruit Cocktail Recipe
Can I use frozen fruit?
Yes, but thaw and drain first. Fresh fruit gives better texture.
Do I need a pressure canner?
No, a boiling water bath canner is safe since fruits are high-acid.
How do I keep fruit from floating?
Pack fruit tightly and remove air bubbles before sealing.
Can I make sugar-free fruit cocktail?
Yes. Use fruit juice or water instead of sugar syrup, but shelf life may shorten.
How long does homemade fruit cocktail last?
Sealed jars last 12–18 months. Opened jars should be refrigerated and eaten within a week.
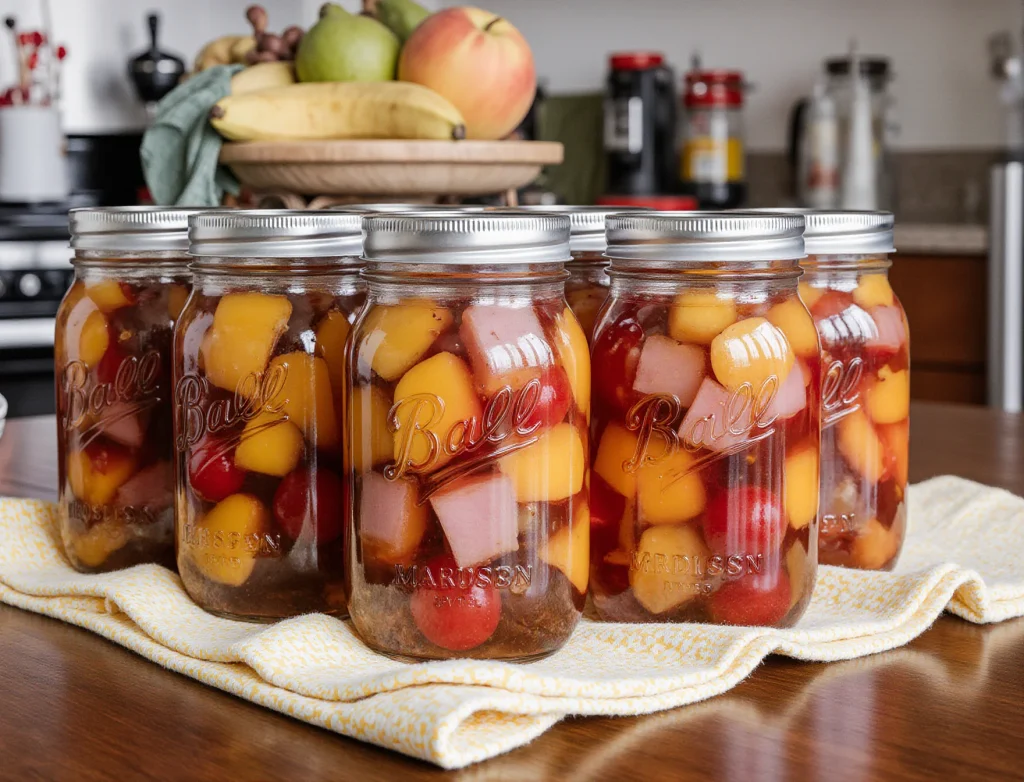
Conclusion: A Taste of Summer in Every Spoonful
Every jar of fruit cocktail you prepare is more than just food—it’s a jar of sunshine, captured when fruit is at its best, preserved for when you need it most. By canning fruit cocktail, you’re creating a healthy, customizable, and delicious treat that your family can enjoy year-round.
So, gather your peaches, pears, pineapple, grapes, and cherries, and start preparing your jars today. When the cold days of winter come, you’ll thank yourself for having bright, colorful fruit ready to open and enjoy.
Call to Action
Now it’s your turn: try this canning fruit cocktail recipe and stock your pantry with jars of sunshine.
👉 Share this guide with friends, or leave a comment: What fruits would you add to your homemade cocktail—classic peaches and pears, or something tropical like mango and kiwi?
Don’t forget to subscribe for more canning recipes, homestead kitchen tips, and seasonal preservation guides. Your pantry—and your future self—will thank you!