Introduction
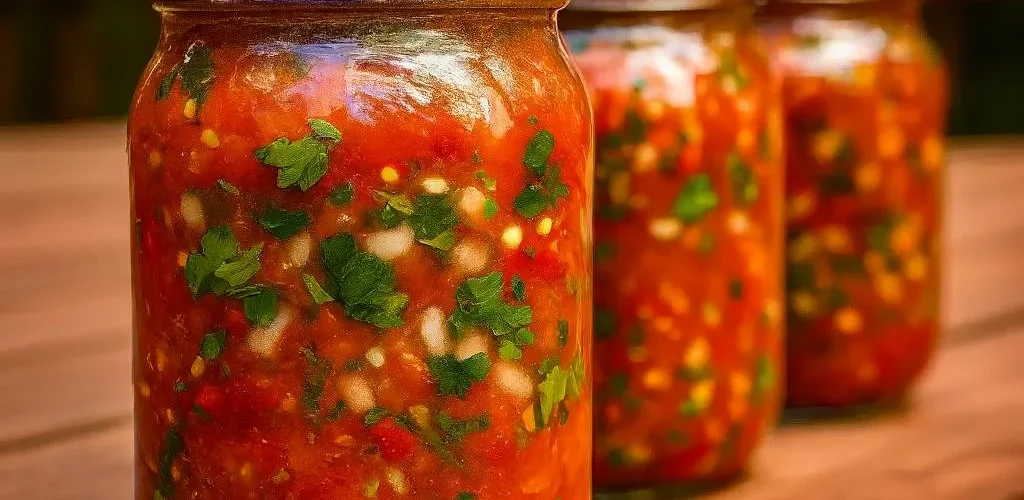
There’s something magical about opening a jar of homemade salsa in the middle of winter. The vibrant colors, the burst of fresh flavor, and the comfort of knowing you created it yourself—it all feels special. Maybe you’ve bought jars at the store, but nothing compares to the taste of salsa you canned in your own kitchen. When you craft it with fresh ingredients and preserve it properly, you’re not just making a snack—you’re bottling a memory.
That’s the power of a salsa canning recipe: it lets you capture the season’s best tomatoes, peppers, onions, and herbs so you can enjoy them any time of year. And the best part? You don’t need to be an expert chef or a master canner. With a few simple steps, you can create jars of salsa that taste fresh, safe, and ready whenever you crave them.
This guide will walk you through five easy steps for preparing your salsa, along with tips, common mistakes to avoid, and answers to your most pressing questions. By the end, you’ll feel confident and excited to start canning your own batch of fresh, zesty salsa.
What is Salsa Canning?
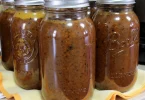
Salsa canning is the process of preparing fresh salsa and sealing it in jars so that it’s shelf-stable. The goal is to preserve the flavors of the season without refrigeration. Canning allows you to safely store your salsa for months, sometimes even years, while maintaining its taste, texture, and nutrients.
Why should you bother canning salsa instead of buying it pre-made?
- You control the ingredients—no preservatives, excess salt, or hidden sugars.
- You get to customize the flavor—more heat, less garlic, or extra cilantro.
- You save money by using seasonal produce.
- You get the satisfaction of saying, “I made this myself.”
Benefits of Homemade Salsa Canning Recipe
When you prepare your own salsa canning recipe, you gain:
- Healthier choices: You decide the level of salt and sweetness.
- Long-term storage: Jars can last up to 12–18 months if sealed properly.
- Convenience: A ready-to-eat salsa is always in your pantry.
- Flavor variety: From mild tomato salsa to fiery habanero blends, you can adjust it your way.
- Pride and sharing: Homemade jars make excellent gifts for friends and family.
Salsa Canning Recipe: Step-by-Step Guide
Here’s the heart of the process: five simple steps to create your salsa and preserve it safely.
Step 1 – Gather Fresh Ingredients
Your salsa will only be as good as what you put in. Choose ripe, firm tomatoes, crisp peppers, and aromatic onions. Avoid overripe or bruised produce, since that affects both flavor and safety.
Essential Ingredients for Salsa Canning Recipe:
| Ingredient | Quantity | Notes |
|---|---|---|
| Tomatoes | 10 cups, peeled & chopped | Use Roma or paste tomatoes for less water |
| Onions | 2 ½ cups, chopped | White or yellow onions work best |
| Bell Peppers | 1 ½ cups, chopped | Use green for classic flavor |
| Jalapeños | 1 cup, chopped | Adjust based on heat preference |
| Garlic | 6 cloves, minced | Fresh for strong flavor |
| Cilantro | ½ cup, chopped | Optional but adds freshness |
| Vinegar | 1 cup | Provides necessary acidity for safe canning |
| Salt | 2 tbsp | Adjust to taste |
| Sugar | 1 tbsp | Balances acidity |
| Tomato Paste | 12 oz | Helps thicken salsa |
Optional add-ins: corn, black beans, or habaneros for extra spice.
Step 2 – Prepare the Salsa
- Blanch and peel your tomatoes for a smoother texture.
- Chop all vegetables evenly for consistency.
- In a large pot, combine tomatoes, peppers, onions, garlic, and seasoning.
- Bring mixture to a gentle boil, stirring frequently.
- Let it simmer for about 10–15 minutes until flavors blend.
Step 3 – Sterilize the Jars
Safe canning begins with clean equipment.
- Wash jars and lids with hot, soapy water.
- Place jars in a large pot of boiling water for 10 minutes.
- Keep them hot until ready to fill—this prevents cracking when hot salsa is added.
Step 4 – Fill and Seal
- Carefully ladle hot salsa into jars, leaving about ½ inch of headspace.
- Wipe jar rims with a clean cloth to remove residue.
- Place lids on top and screw bands until fingertip-tight.
- Process jars in a boiling water bath for 15–20 minutes (depending on altitude).
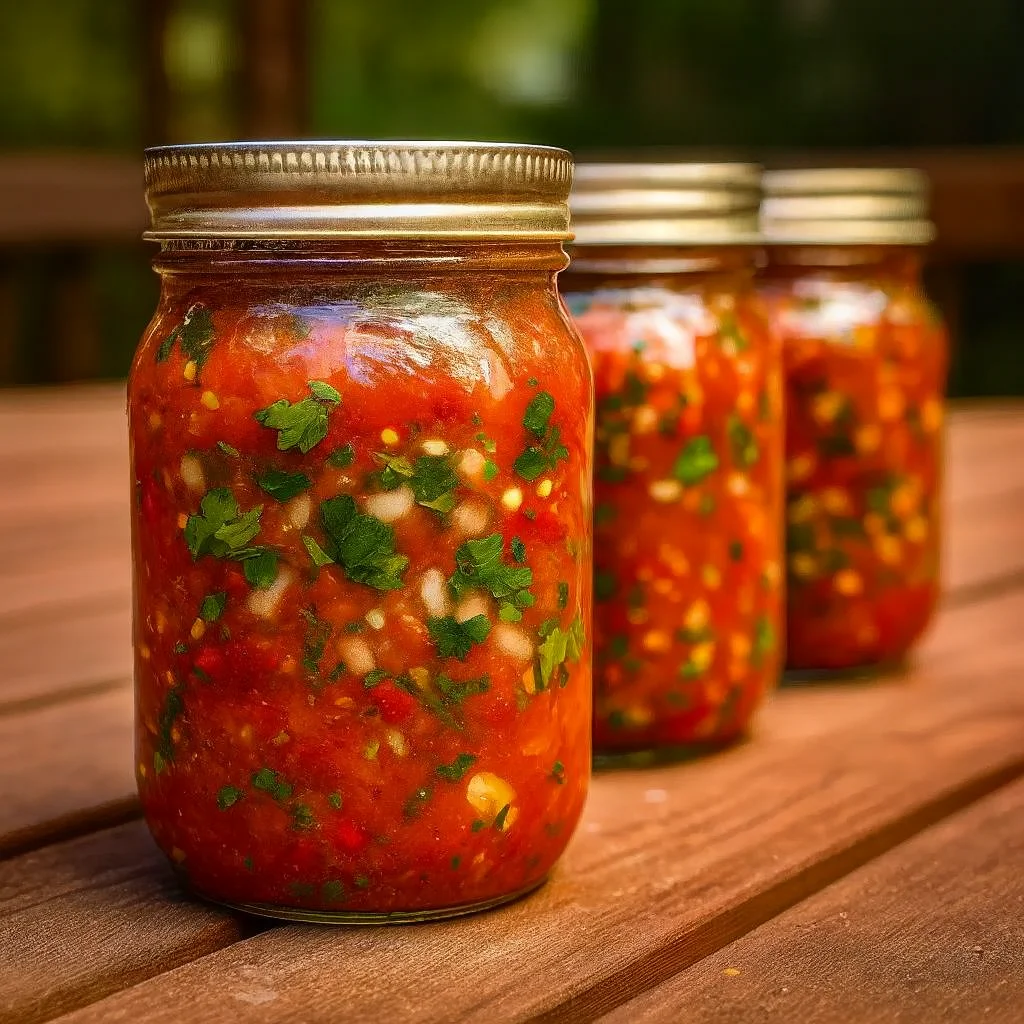
Step 5 – Cool, Store, and Enjoy
- Remove jars carefully and place them on a towel to cool.
- Listen for the pop—that’s the lid sealing properly.
- After 24 hours, check the seals. Lids should be concave and not flex when pressed.
- Label jars with the date and store them in a cool, dark place.
Your salsa is now ready for tacos, nachos, burrito bowls, or just tortilla chips whenever you need a burst of fresh flavor.
Common Mistakes in Salsa Canning (and How to Avoid Them)
- Skipping vinegar or acid: This can lead to unsafe salsa. Always add vinegar or lemon juice.
- Improper jar sealing: If the lid doesn’t seal, refrigerate and use within a week.
- Using overripe tomatoes: Too watery and can affect texture.
- Guessing measurements: Precise ratios matter for both taste and safety.
Pro Tips for the Best Salsa Canning Recipe
- Roast tomatoes and peppers before blending for a smoky flavor.
- Add a pinch of cumin or smoked paprika for depth.
- If you prefer a thicker salsa, simmer longer or add extra tomato paste.
- Always taste before sealing and adjust salt or sugar as needed.
FAQs About Salsa Canning Recipe
What is the easiest way to make salsa for canning?
Use fresh tomatoes, onions, peppers, and vinegar, then follow the boiling water bath method.
How long does homemade salsa last after canning?
Properly sealed jars can last 12 to 18 months in a cool, dark pantry.
Can I reduce the vinegar in the recipe?
No. Vinegar ensures acidity, which is critical for preventing bacterial growth.
Can I freeze salsa instead of canning it?
Yes, but the texture may change. Canning keeps it shelf-stable with better consistency.
How do I fix watery salsa?
Use Roma tomatoes and simmer longer to reduce liquid. Adding tomato paste also helps.
Conclusion
By now, you can see how simple and rewarding it is to prepare a salsa canning recipe at home. With just a few ingredients, some basic tools, and five straightforward steps, you can capture the flavors of summer and enjoy them all year long.
The beauty of this process is that it’s not just about salsa—it’s about preserving memories, flavors, and the pride of creating something with your own hands. Every time you twist open a jar, you’ll taste not only tomatoes and peppers, but also the effort and love you put into it.
So grab your jars, gather your vegetables, and give it a try. Once you taste your own canned salsa, store-bought will never measure up again.
👉 Call to Action: Ready to try your first batch? Share your results, your favorite salsa variations, or your questions in the comments below. And don’t forget to pass a jar to someone you love—you’ll brighten their day instantly.